Basic Workflow: Code, Run, Monitor, Repeat 🔄
You've got PyRun set up and created a workspace or explored a pipeline. Now, let's walk through the typical iterative workflow for developing and running your Python code using a PyRun Workspace.
Think of your PyRun workspace as your cloud-based development environment, connected to the scalable execution engine running on your AWS account.
1. Access Your Workspace
- Log in to your PyRun account.
- Navigate to the "Workspaces" section.
- Click on the name of the workspace you want to use. This opens the integrated environment.
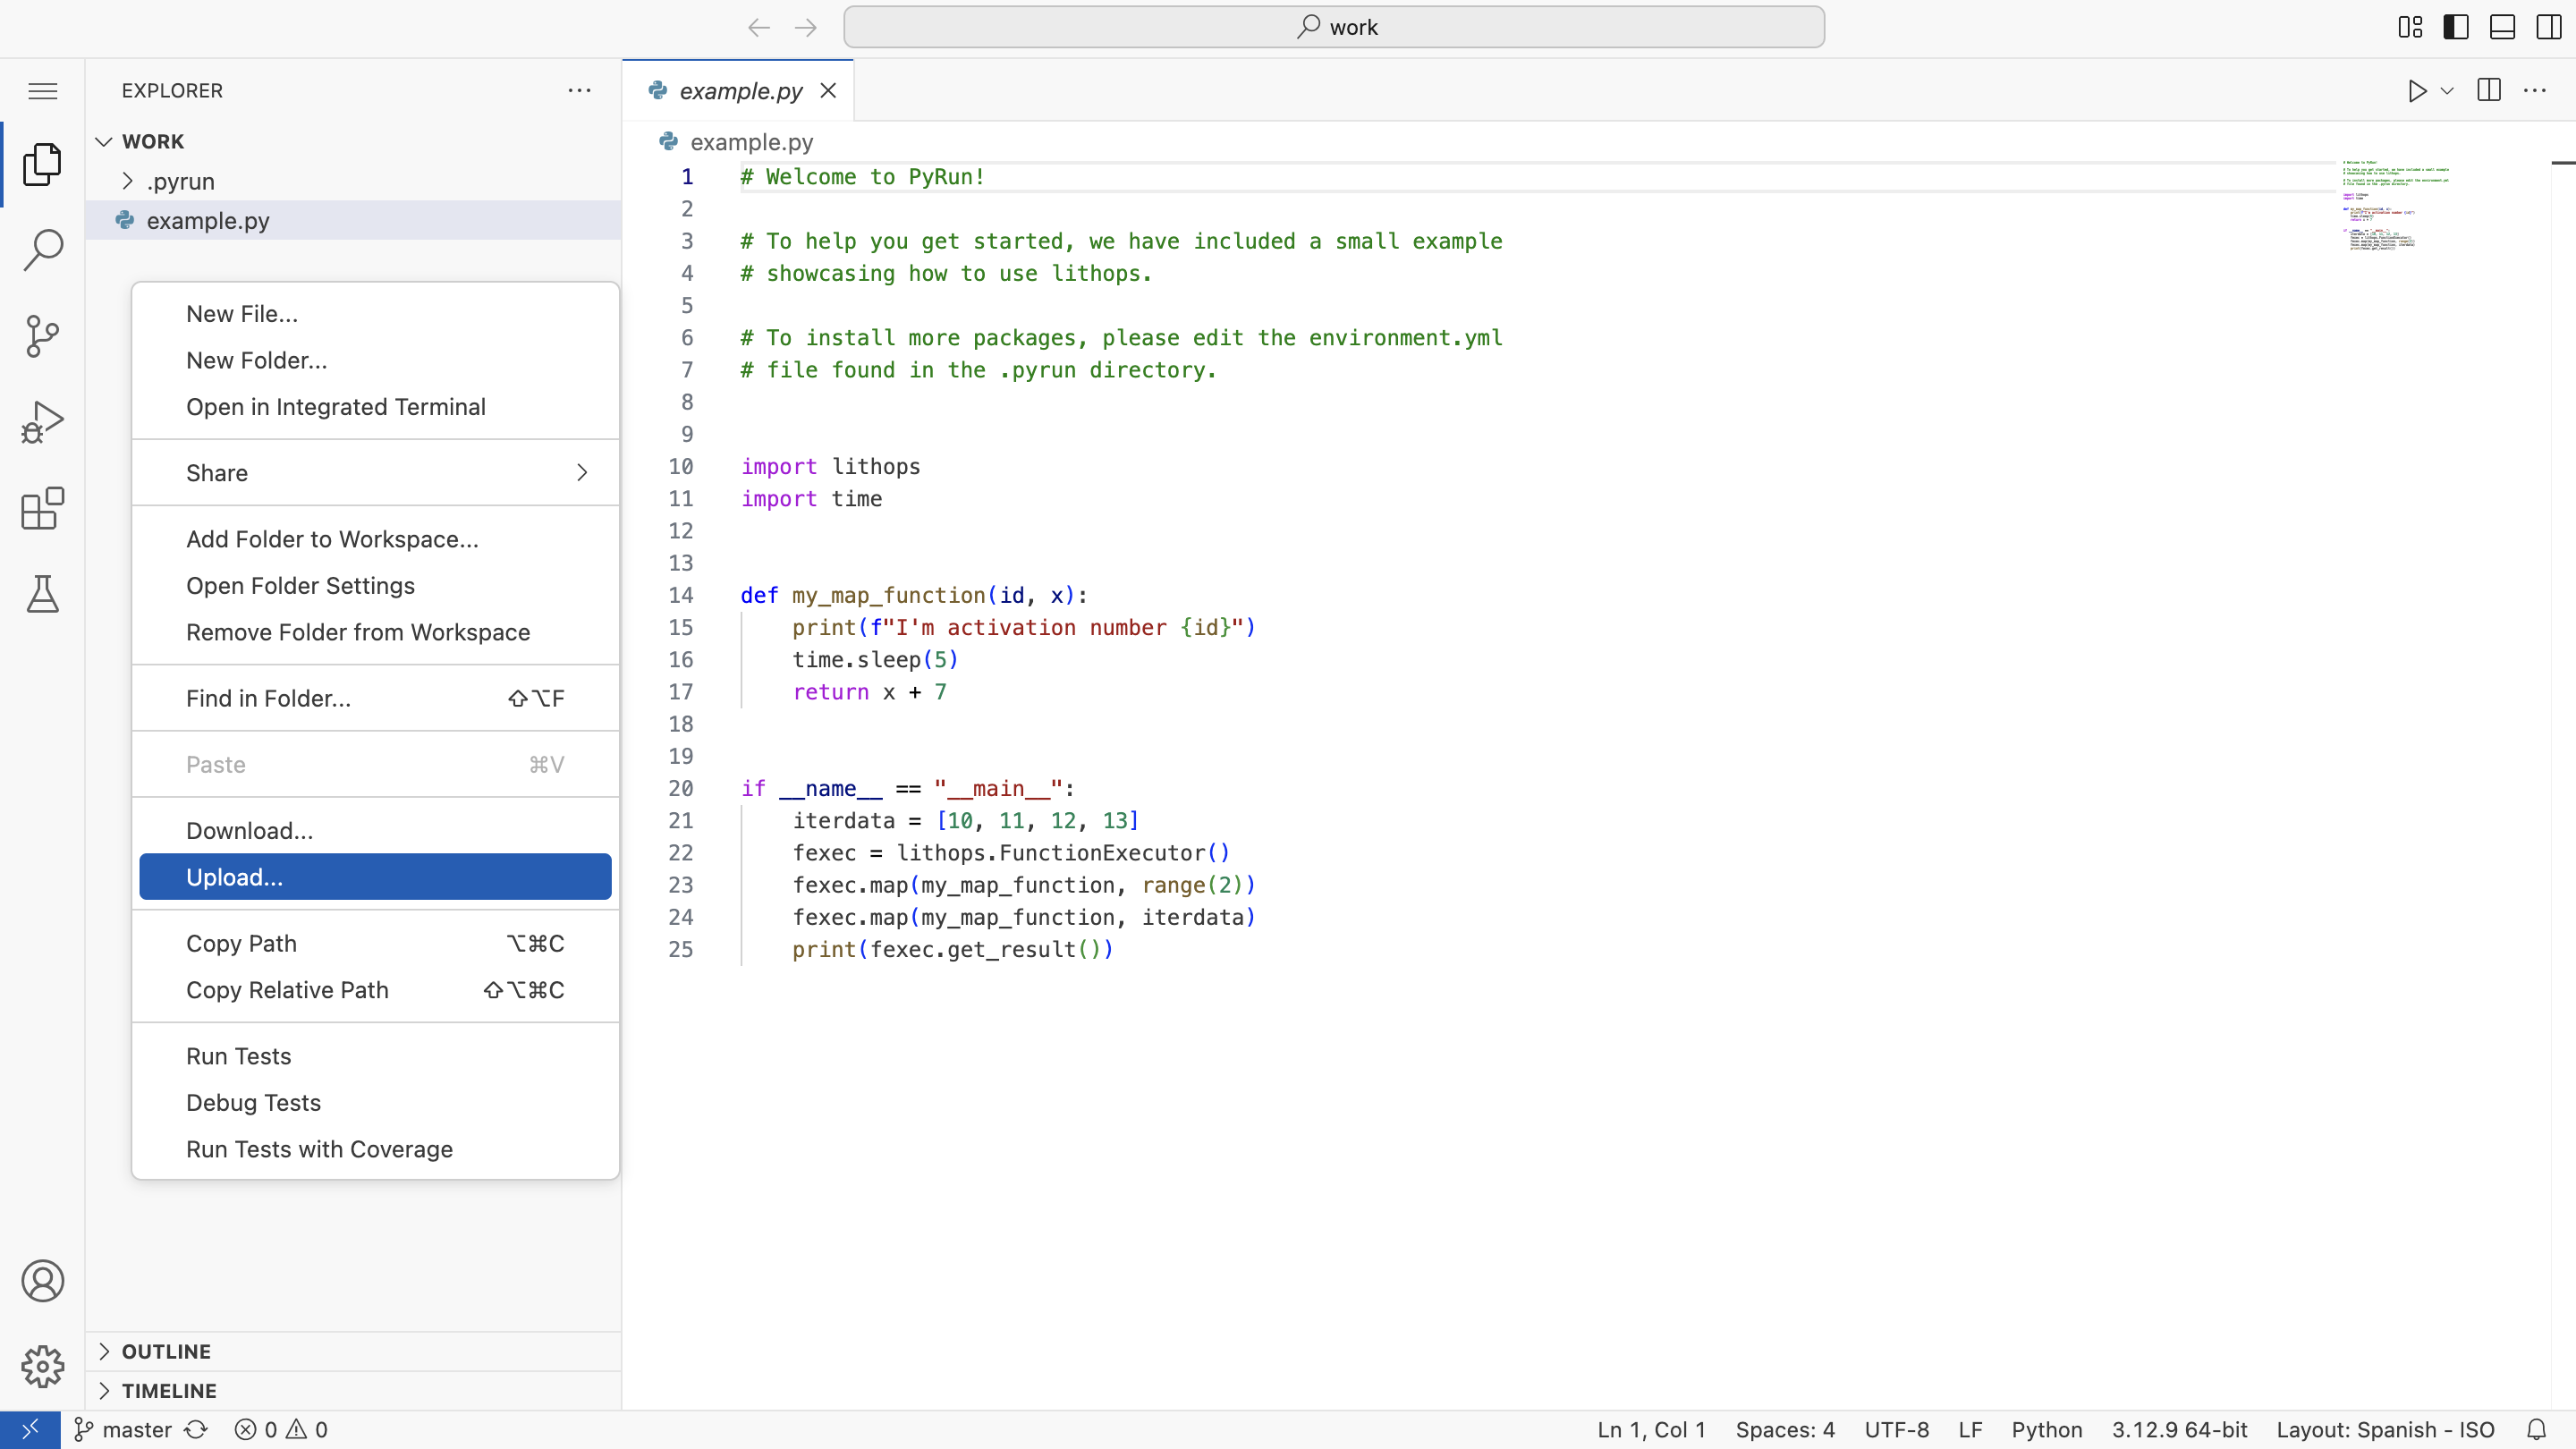
2. Write or Upload Code
Get your Python script into the workspace:
Edit Existing Files: Modify the provided
example.pyor other files directly in the editor.Create New Files: Use the file browser panel to create new
.pyfiles.Upload Code: Use the "Upload" button or drag-and-drop feature in the file browser to add scripts from your local machine.
3. Define Dependencies (If Needed)
If your code requires packages not included in the base template environment:
Open
.pyrun/environment.yml: Locate this file in the file browser (it might be hidden; check view options if needed).Add Packages: Add required packages under the
dependencies(for conda) orpipsection. Specify versions for reproducibility.Save the File: Save your changes to
environment.yml.Automatic Runtime Rebuild
PyRun automatically detects changes to
environment.yml. The next time you click "Run", it will prompt you to rebuild the runtime environment. This build happens in the cloud and typically takes a few minutes. You can monitor the build process in the logs. Learn more in Runtime Management.Important Reminder
Only packages defined in
.pyrun/environment.yml(or aDockerfile) will be available during job execution. Installing packages via the workspace terminal (pip install ...) only affects the current interactive session, not the execution runtime.
4. Run Your Code! 🚀
Execute your script on your AWS infrastructure:
Select Your File: Ensure the Python file you want to run is open and active in the editor or selected in the file browser.
Click "Run": Find the "Run" button in the workspace interface and click it.

PyRun takes over:
- Packages your code and the defined runtime.
- Communicates with your AWS account to provision necessary resources (via Lithops, Dask, etc.).
- Executes your script in the cloud.
- Streams logs and metrics back to the PyRun interface.
5. Monitor Execution in Real-Time
As your code runs, switch to the Monitoring tabs within your workspace:
Real-Time Overview: See live graphs of CPU, Memory, Disk, and Network usage across your running job.
Gantt Chart: Visualize task execution timelines (especially useful for parallel jobs with Lithops/Dask).
Logs: View the standard output (
stdout) and standard error (stderr) from your script as it executes. Crucial for debugging!Detailed Metrics Tabs: Explore more granular time-series data for CPU, Memory, Disk, and Network performance.
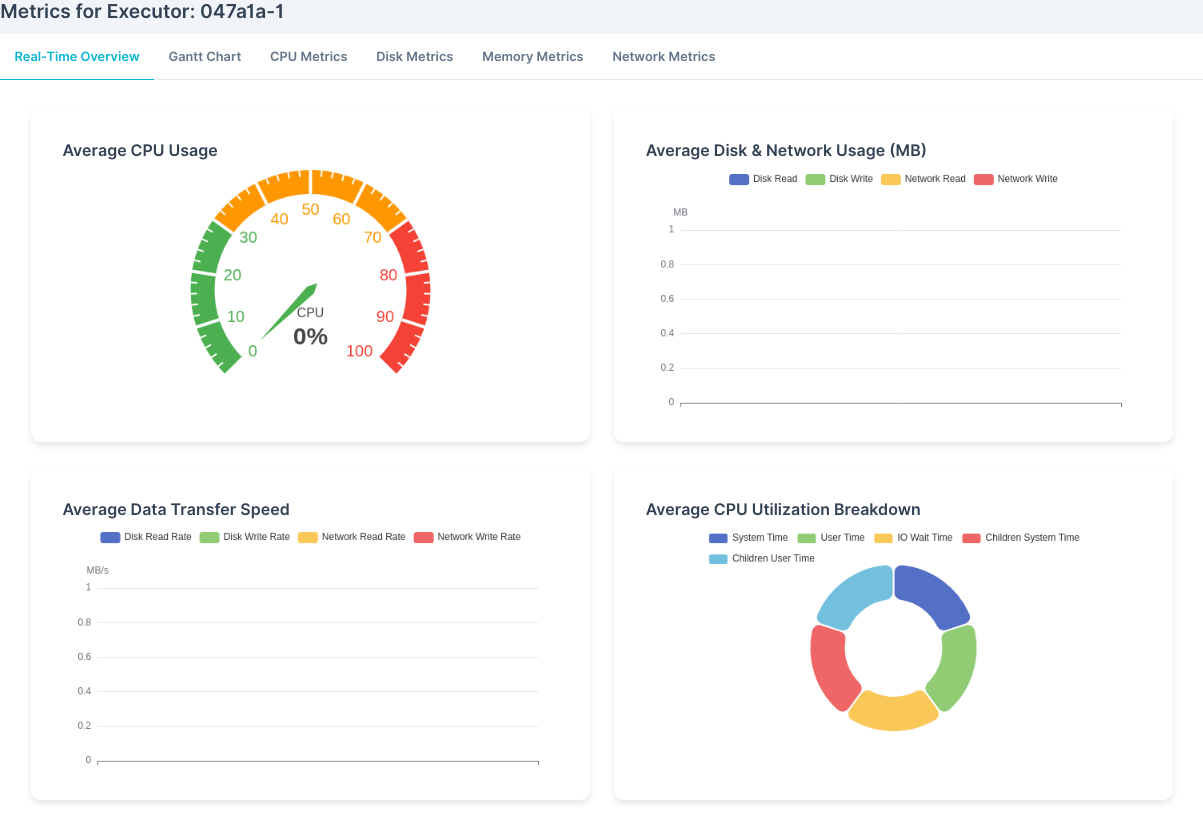
Refer to the Real-Time Monitoring page for a detailed guide to these charts.
6. Review Results and Outputs
Once the job status shows "Completed" (or "Failed"), check for your results:
- Logs: Often, results or summaries are printed to standard output and appear in the "Logs" tab.
- Workspace Files: If your script writes output files (e.g., CSVs, plots, JSON), check the file browser in your workspace. Note: Ensure your code saves files to the current working directory or a relative path for them to appear here.
- Cloud Storage (e.g., AWS S3): If your code is designed to write results directly to S3, check the configured bucket and path in your AWS account.
7. Iterate!
Based on the results and monitoring insights:
- Go back to step 2 to modify your code.
- Adjust dependencies in step 3 if needed.
- Run again (step 4) and observe.
This iterative cycle of coding, running, monitoring, and refining is central to developing scalable applications with PyRun.
What to Explore Next:
- Experiment with the specific features of Lithops and Dask.
- Learn advanced techniques in Runtime Management.
- Integrate data sources using the Data Cockpit.
Happy running!